How to Fix Water-Damaged Walls Before Repainting (Step-by-Step Guide)
Walls damaged by water are more than just unsightly; they are a warning sign.
Acting fast is crucial whether your living room wall has flaking paint, bubbling plaster, or discoloured areas. It's crucial to handle the harm under the surface before you grab that paintbrush.
This guide will bring you through the step-by-step procedure of repairing water-damaged walls before painting, so your home remains beautiful, safe, and protected—especially in Melbourne's erratic climate.
 This stage calls for some skill. Consider using pros like Inspire Painting for flawless outcomes if the damage is extensive—especially if you are considering house painting in Cranbourne or close by.
What Causes Water Damage on Walls?
Understanding the reason is first important before getting your tools. Water damage in Melbourne residences is usually caused by:- Leaky roofs (especially during winter storms)
- Burst or leaking pipes
- Bathroom or kitchen moisture build-up
- Blocked gutters or poor drainage
- High indoor humidity or poor ventilation
How to Identify Water Damage on Interior Walls
Some water damage is not clear. Watch out for these tell-tale signs: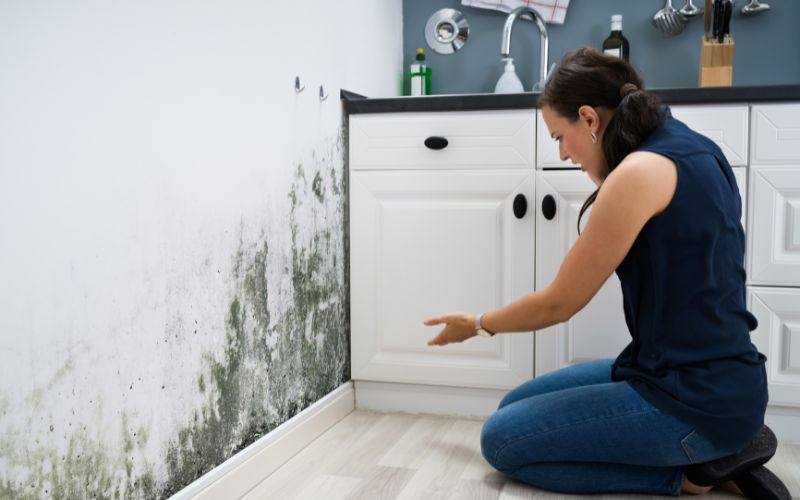
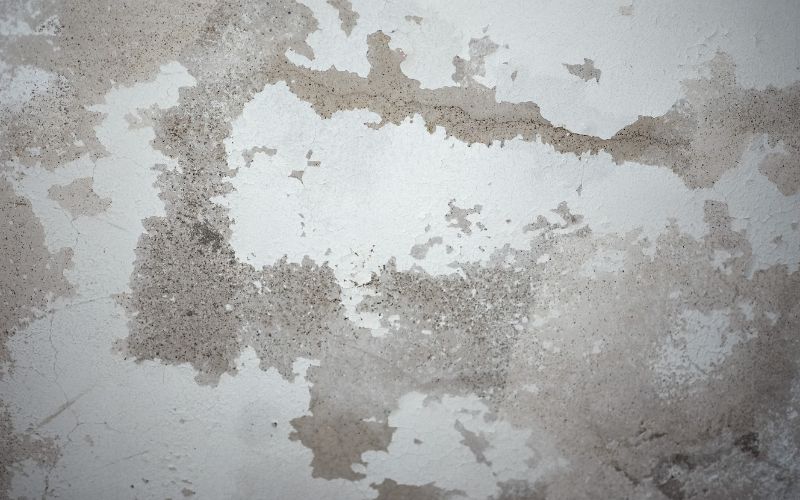
- Peeling or flaking paint
- Brown, yellow, or grey stains
- Bubbling or warped plaster
- Musty odour (especially near skirting boards)
- Soft, damp drywall when pressed
Can You Paint Over Water-Damaged Walls?
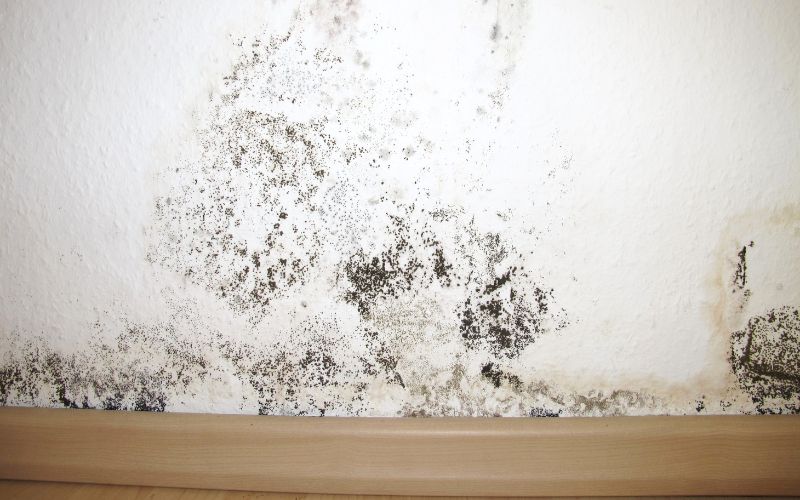
Short answer: No—you shouldn’t. Painting over water-damaged walls without appropriate repair just conceals the issue. The damage will return, resulting in:- Peeling paint within weeks
- Mould growth trapped beneath
- Paint adhesion failure
- Wasted time and money
How Wall Materials Impact Water Damage Repair
Different wall materials react differently to water damage. Knowing what your walls are constructed of helps to identify the appropriate restoration technique.- Plaster Walls: Often seen in older Melbourne houses, plaster can fracture or disintegrate when damp. It usually calls for replacement or patching.
- Drywall (Gyprock): More prevalent in contemporary constructions, drywall absorbs water fast and can sag or swell. Often, damaged areas call for removal and replacement.
- Brick or Concrete: Though they can still have surface stains or fungus, these are more water-resistant.
Step-by-Step Guide: Fixing Water-Damaged Walls Before Painting
You may either fix the wall yourself using this methodical approach or grasp what your expert painter will do.Step 1: Stop the Source of the Leak
You have to find and fix the water source first, then fix everything else. This can call for:- Hiring a plumber for leaking pipes
- Repairing a damaged roof or gutter
- Installing proper ventilation in bathrooms
- The harm will continue returning without addressing the underlying cause.
Step 2: Dry the Wall Thoroughly
- Once the source is fixed:
- Open windows and doors for airflow
- Use fans or a dehumidifier
- Before continuing, let the wall dry completely for at least 48 to 72 hours.
Step 3: Remove Damaged Materials
- Scrape away peeling or bubbling paint
- Cut out any soft or crumbling plaster/drywall
- Use protective gear if mould is present
Step 4: Clean and Treat the Area
- Use mild bleach or anti-mould spray
- Wipe down stains and kill spores
- Allow the wall to dry again thoroughly
Step 5: Repair the Surface
- Use joint compound or filler for small dents or holes.
- Sand the surface till smooth.
- For drywall: tape seams, use compound, and feather edges
- For plaster: mesh tape and plaster patch fix gaps
 This stage calls for some skill. Consider using pros like Inspire Painting for flawless outcomes if the damage is extensive—especially if you are considering house painting in Cranbourne or close by.
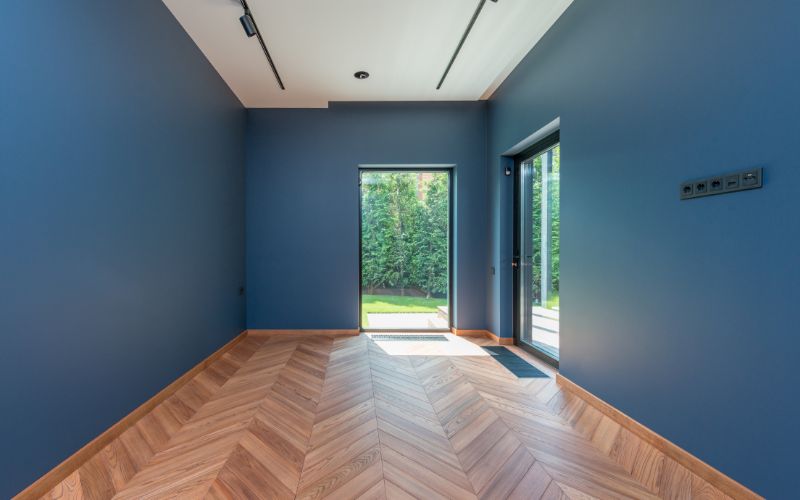
Step 6: Prime and Repaint
- Use stain-blocking or moisture-resistant primer
- Once dry, use two coats of good paint appropriate for the circumstances of the room (e.g., mould-resistant paint for bathrooms).
DIY or Call the Pros: What’s Best?
DIY is ideal for:
- Minor stains or surface bubbling
- Confident handypeople with tools and time
Call the pros if:
- Mould is widespread
- The damage affects multiple walls
- You’re unsure about the leak’s source
- You want a perfect finish without the hassle
Types of Paint That is Best After Water Damage
Long-term durability and resistance depend on selecting the correct paint type after fixing the damage. Melbourne's changing weather and periodic humidity increase the significance of this even more.Best Paint Options:
- Acrylic Latex Paint: Excellent for general interior use. It provides good moisture resistance and adhesion.
- Mould-Resistant Paint: Ideal for laundry rooms, kitchens, and bathrooms where moisture lingers.
- Primer + Paint Combo: Perfect for DIYers trying to save time, while separate primer is preferable for water-damaged areas.
Common Mistakes to Avoid When Fixing Water-Damaged Walls
DIY fixes can go awry even with the best intentions. Melbourne homes should avoid these top errors:-
Not identifying the water source properly
-
Skipping the drying process
-
Using the wrong primer or paint
-
Ignoring ventilation improvements
Tips to Prevent Water Damage in the Future
- Look for plumbing or roof leaks often.
- Put exhaust fans in laundry/bathroom areas.
- In wet locations, use mould-resistant paint.
- Clean gutters to stop overflow.
- Use protective coats to repaint often.