Why Your Wall Paint Is Peeling (And How to Fix It!)

Any house can seem better with a nicely painted wall; yet, paint tends to look ugly very soon when it starts to peel. You're not alone if you see chipping, bubbling, or flaking paint in your house. Common problems Melbourne homes deal with are peeling paint, usually brought on by old materials, inadequate surface preparation, or dampness. Luckily, with the right technique, repairing it is rather feasible. In this blog we will discuss the major reasons causing peeling paint, quick DIY fixes and when to call a professional house painter.
 Understanding why your paint is peeling can help you to solve the problem. The most often occurring causes are listed here:
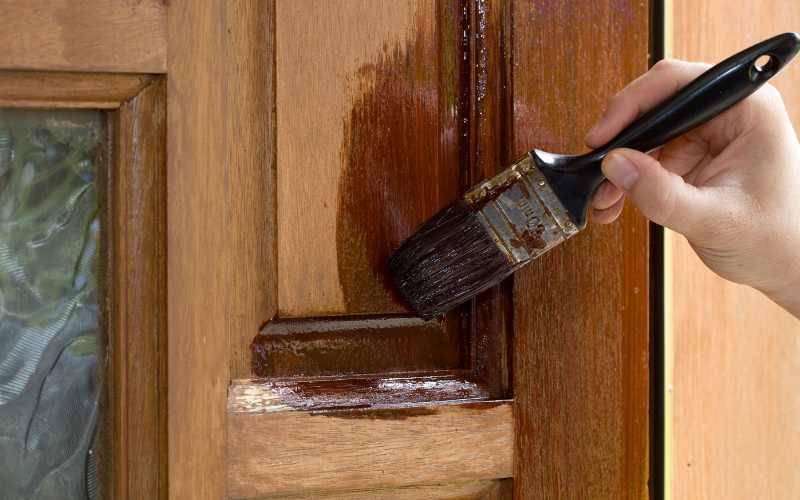
How to Fix It:Using a scraper or sandpaper, remove all loose paint before repainting. To get rid of filth and oil, thoroughly clean the surface with a moist cloth and light detergent. To guarantee correct adherence, apply a premium primer before painting.
How to Fix It: Before you paint, secure any loose fittings. If balusters are not securely fastened, for instance, strengthen them with screws or strong adhesives. You may boldly apply fresh paint without thinking about potential peeling after these problems are resolved.
Understanding why your paint is peeling can help you to solve the problem. The most often occurring causes are listed here:
How to Fix It:Using a scraper or sandpaper, remove all loose paint before repainting. To get rid of filth and oil, thoroughly clean the surface with a moist cloth and light detergent. To guarantee correct adherence, apply a premium primer before painting.
How to Fix It: Before you paint, secure any loose fittings. If balusters are not securely fastened, for instance, strengthen them with screws or strong adhesives. You may boldly apply fresh paint without thinking about potential peeling after these problems are resolved.
Common Causes of Peeling Paint
 Understanding why your paint is peeling can help you to solve the problem. The most often occurring causes are listed here:
-
Moisture and Water Damage
-
Poor Surface Preparation
 How to Fix It:Using a scraper or sandpaper, remove all loose paint before repainting. To get rid of filth and oil, thoroughly clean the surface with a moist cloth and light detergent. To guarantee correct adherence, apply a premium primer before painting.
-
Using Low-Quality or Incompatible Paint
-
Applying Paint Over a Glossy or Unprimed Surface
-
Structural Issues and Movement
 How to Fix It: Before you paint, secure any loose fittings. If balusters are not securely fastened, for instance, strengthen them with screws or strong adhesives. You may boldly apply fresh paint without thinking about potential peeling after these problems are resolved.
How to Fix Peeling Paint Properly
Step 1: Scrape and Sand the Affected Area
Eliminating any loose and flaking paint requires a scraper or sandpaper. Before starting, make sure the surface is smooth and clutter-free.Step 2: Clean and Dry the Surface
Good paint adherence can be hampered by dirt, oil, and moisture. Using a moist towel and a little detergent, wipe the area. Before adding any more paint, let the wall dry totally.
Step 3: Apply a High-Quality Primer
Primer smooths the foundation and improves paint adherence. Whether your surface is drywall, wood, or concrete, pick a primer fit for it.Step 4: Choose the Right Paint
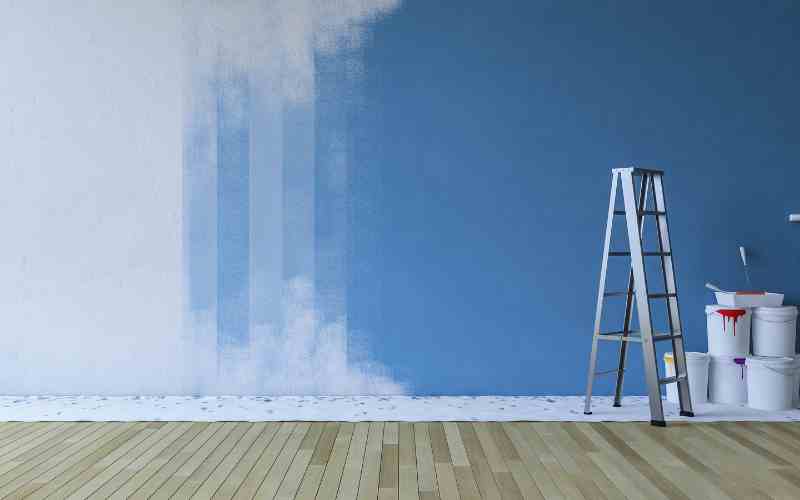
Choose robust, premium paint fit for your surroundings. Choose weather-resistant paint for outdoor walls to survive Melbourne's changing climate.Step 5: Apply Paint in Thin, Even Coats
Applying paint in several thin applications rather than one thick coat uses a brush or roller. This guarantees a professional gloss and improved adherence.
Step 6: Allow Proper Drying Time
Hurrying the drying process could cause peeling and fissures. Between coats, follow the manufacturer's advised drying times.Preventing Future Peeling
Use these care guidelines to keep your walls looking new and stop future peeling:- Fix leaks and improve ventilation: The main enemy of paint lifetime is moisture.
- Use high-quality materials: Invest on primer and paint of superior quality.
- Prepare surfaces properly: Before painting, always be neat, sand, and prime.
- Maintain structural integrity: To prevent fractures and movement-related peeling, secure loose pieces like balusters.
- Regular Inspections: Periodically look for damage, cracks, or moist areas on your walls. Early little problem addressing helps to avoid future big repainting tasks.
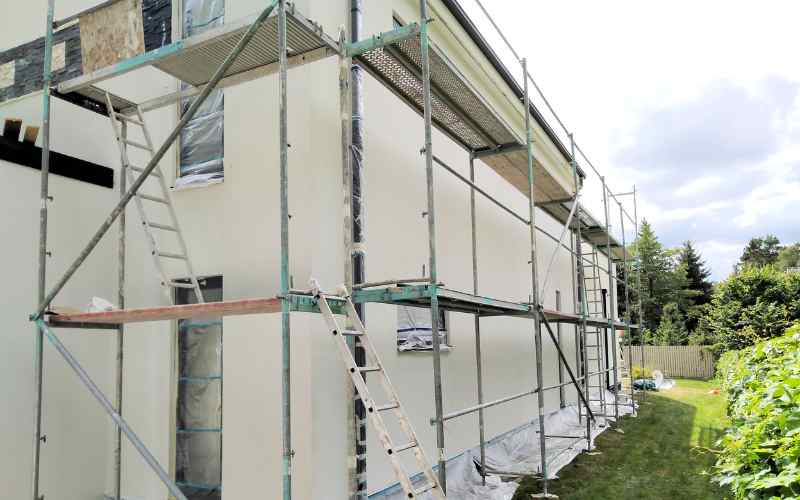
- Seal Exterior Walls Properly: Make sure the outside walls of your house are tightly sealed to prevent moisture from seeping in if your house is in a place with a lot of rain. A waterproof sealant will greatly increase its lifetime.